Battle of Caporetto: What Happened and Where to See It
The Battle of Caporetto opened on 24 October 1917 near Kobarid and broke the Italian Second Army. Here is what happened and where the sites sit in the Soča valley.
On this page
The Battle of Caporetto was the combined Austro-Hungarian and German attack that opened on 24 October 1917 near Kobarid, then called Caporetto, on the Isonzo front. It broke the Italian Second Army and pushed the front roughly 25 km forward by nightfall. This guide explains the battle as a sequence of decisions and places each piece of ground on the modern Soča valley map.
Three names for one town come before anything else. Kobarid is the Slovenian name, Caporetto the Italian one the battle took, and Karfreit the German name used by the Central Powers, who fought the Twelfth Battle of the Isonzo under that label.
The names: Caporetto, Karfreit and Kobarid
The town sits in what is now western Slovenia, on the Soča, which the Italians call the Isonzo. The battle is filed under three titles: the Battle of Caporetto after the Italian name, the Battle of Karfreit in German usage, and the Twelfth Battle of the Isonzo in the numbered series of Isonzo offensives. When you read a plaque or a museum panel, check which naming system it uses before you match dates, because the same day can appear under different labels.
That naming habit carries into the wider valley. Bovec is Plezzo on Italian maps, Tolmin is Tolmino, and the river running between them is the Soča or the Isonzo depending on the map you picked up. A two-column name list is the fastest way to follow the accounts.
Who was involved
The attacking force was the German-Austrian Fourteenth Army under German General Otto von Below, with Konrad Krafft von Dellmensingen as chief of staff. It combined six German divisions with nine Austrian divisions, drawn in part on units supplied by General von Hutier. On the other side stood the Italian Second Army, holding the mountainous sector of the Isonzo front.
Two Austrian armies under Svetozar Borojević attacked the Italian Third Army further south, on the Carso and Bainsizza plateaus near the Adriatic. Those attacks were secondary: the decisive blow was the double breakthrough by the Fourteenth Army in the mountains against the Second Army, which is the story the Soča valley tells.
How the attack opened
The offensive opened at 2am on 24 October 1917 from a salient at Tolmino, helped by misty conditions that hid the assembly. A heavy artillery barrage of high explosives, gas and smoke hit the Italian lines, and the combined force broke through the Second Army's positions almost at once. The assault ran on infiltration tactics: squad-sized stormtroops pushed through gaps and rolled up trenches with hand grenades and flamethrowers rather than holding a continuous line.
The first thrust came near Plezzo, Bovec today, where Austrian divisions and German gas officers put down a gas barrage on Italian troops deployed in the flat ground along the river. The front there crossed the Isonzo, so the attackers did not have to force a river crossing, and the opening they made led straight toward Caporetto. About 10 miles south, a second breakthrough came out of Tolmino, aimed down the valley.
Erwin Rommel, then an Oberleutnant, captured 1,500 men and 43 officers with only three riflemen and two officers assisting him. Another account puts Rommel at the head of about 100 troops taking over 3,000 Italian prisoners, and places him at a position on Monte Kolovrat early in the fighting. Treat the two figures as separate reports rather than reconciling them into one number.
Why the Italian lines gave way
The Italian deployment is the part that makes sense of the speed. The opening day's battlefield covered roughly 12 by 12 miles, and the front line and the Italian defensive lines wove back and forth across the river. A large gap separated the Second and Third Italian lines, and west of Tolmino all three lines were packed tightly together.
That cramping left three Italian divisions, the 43rd, 46th and 50th, below Monte Nero and Monte Mrzili, where the front line lay on 24 October. Fog and rain obscured their view that morning, and while they held their ground the troops that had broken through at Plezzo marched down the river edge and flanked them from the left. At Tolmino the town and the bridgehead hill were held by German troops, so an attack could come from both sides of the river at once, with the bridgehead assault running downhill.
The advance to the Tagliamento and the Piave
The Fourteenth Army's advance carried its lead elements to Udine, the former site of the Italian general headquarters, by 28 October, and to the Tagliamento River by 31 October. A German division established a bridgehead further north on the Tagliamento on 2 November. The speed worked against the attackers as well, because supply lines at full stretch began to fail.
On the Italian side the decisions matter more than the movement. The local commander, Capello, recommended a withdrawal to the Tagliamento once his lines broke on the first morning, but Luigi Cadorna overruled him and held on for almost a week. On 30 October most Italian forces were ordered across the river, a crossing that took about four days, and Cadorna then ordered a withdrawal to the Piave, roughly 30 km north of Venice.
What it cost
Two accounts give different totals, and the difference matters before you quote a figure. One gives about 300,000 Italian casualties, of which some 90 percent were prisoners, with virtually all the artillery lost. The other puts Italian casualties at about 500,000, including 250,000 taken prisoner, alongside heavy losses of guns and mortars.
The political shock was immediate. Cadorna was dismissed and replaced by Armando Diaz, and Vittorio Orlando took over as prime minister from Boselli. The Allies, who had left Italy to face the Austro-Hungarians alone until then, promised substantial aid, with six French divisions under Fayolle and five British divisions under Plumer supported by large air contingents.
Where the sites are in the valley today
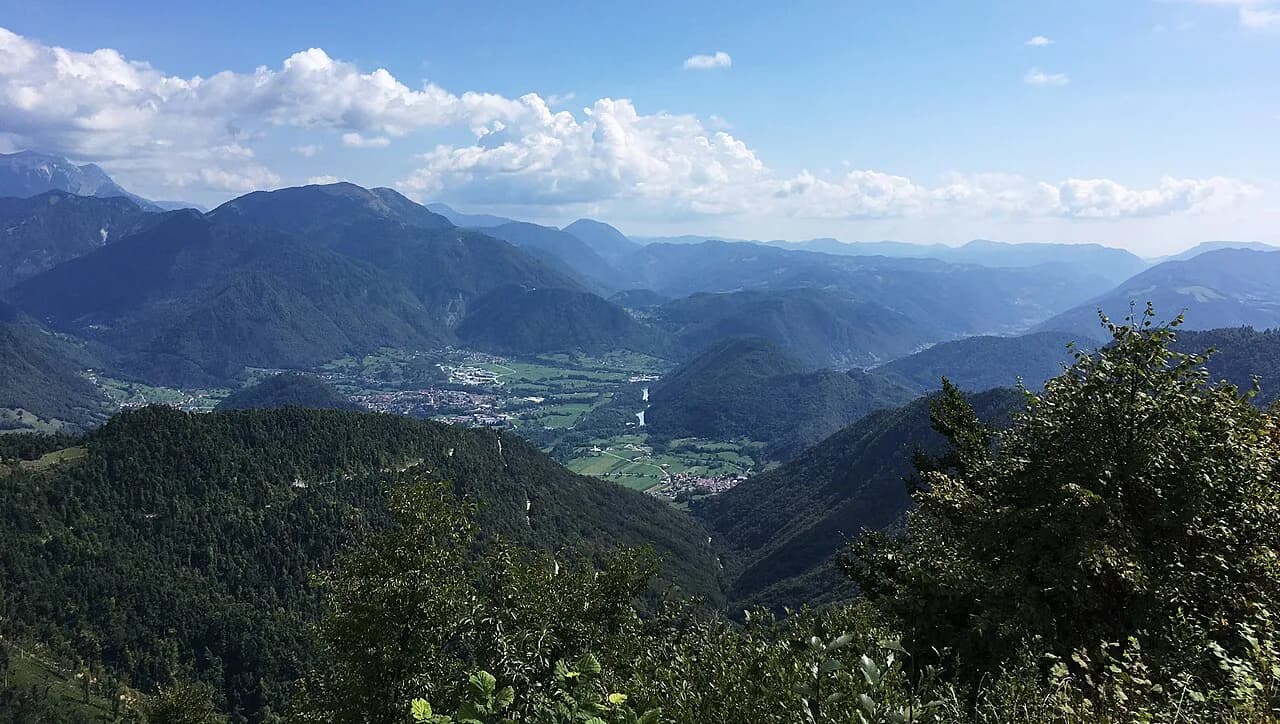
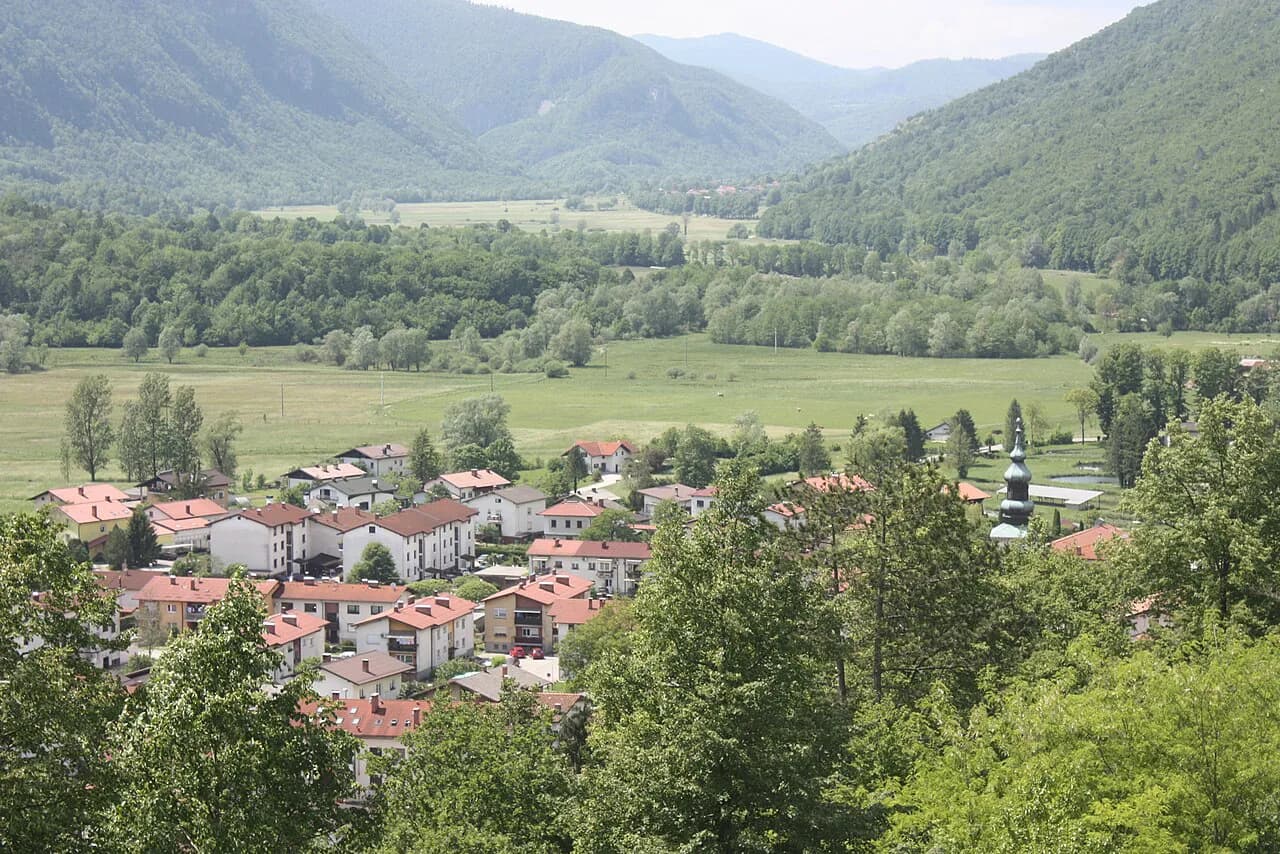
The northern battlefield follows roads you would drive anyway. The action ran from Monte Rombon in the north, above Bovec, down past Plezzo, then south past the great river bend to Kobarid itself, and on to Tolmino at the southern end. The two breakthrough points, at Plezzo and at Tolmino, are about 10 miles apart.
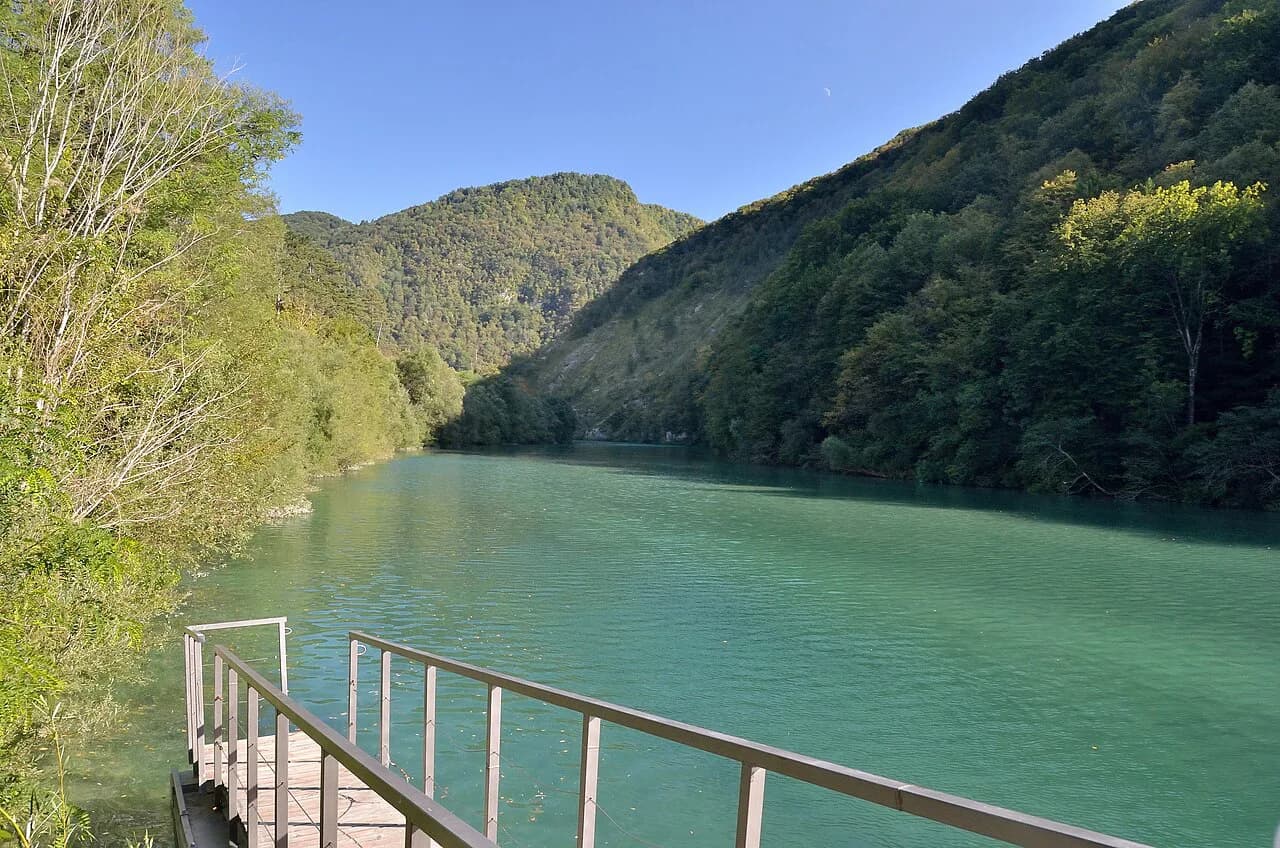
The river geometry is what makes the ground legible. Around Plezzo the mountains crowd close on both sides of the Soča, with only low flat spaces along the water, and it was in those flats that the gas barrage landed. North of Tolmino the front line and both defensive lines crossed the river at a perpendicular, so once you have seen that, the shape of the assault makes sense from the road.
Kobarid was the opening objective and the road hub at the head of a second valley, and its capture opened the way for the pursuit south into Italy. That is why the town makes the natural base for reading the battle: the routes to the passes and the river bends converge there. For the wider town picture beyond the war, see Tolmin, the valley's other main center, where the Soča and Tolminka meet.
Monte Kolovrat, where Rommel captured a position early in the battle, sits on the western side of the river above the valley, with Monte Nero and Monte Mrzili on the eastern side. Both names appear on ridge signs and in local accounts, and both anchor a walk through the battlefield geography. They are mountains to read the map by, not stops you can assume are accessible on a given day.
Reading the ground before you go
Work out the north-south order first: Rombon and Bovec in the north, then the river bend and Kobarid, then Tolmin in the south. The Isonzo / Soča flows through the middle of everything, so every account you read will hop from one bank to the other. Marking the river once on a paper map saves a lot of confusion later.
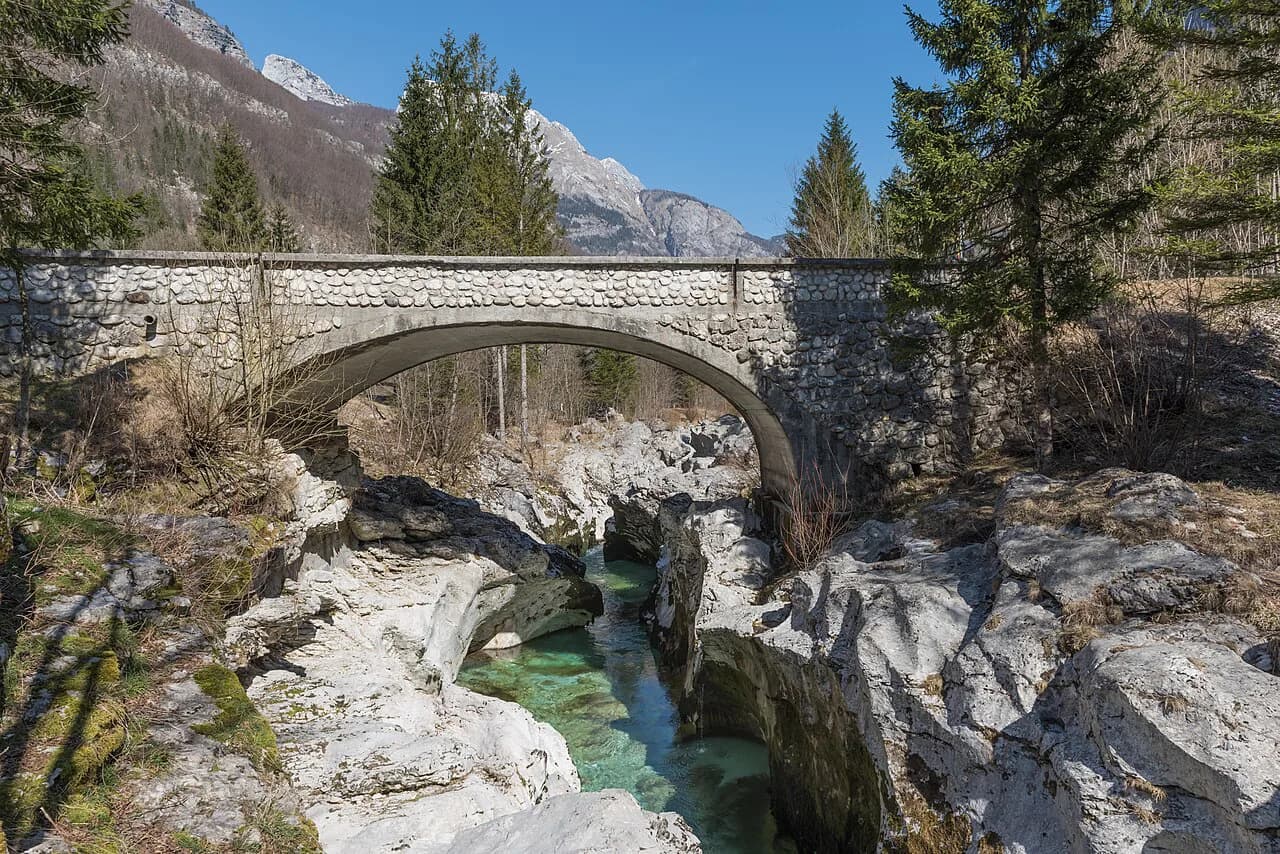
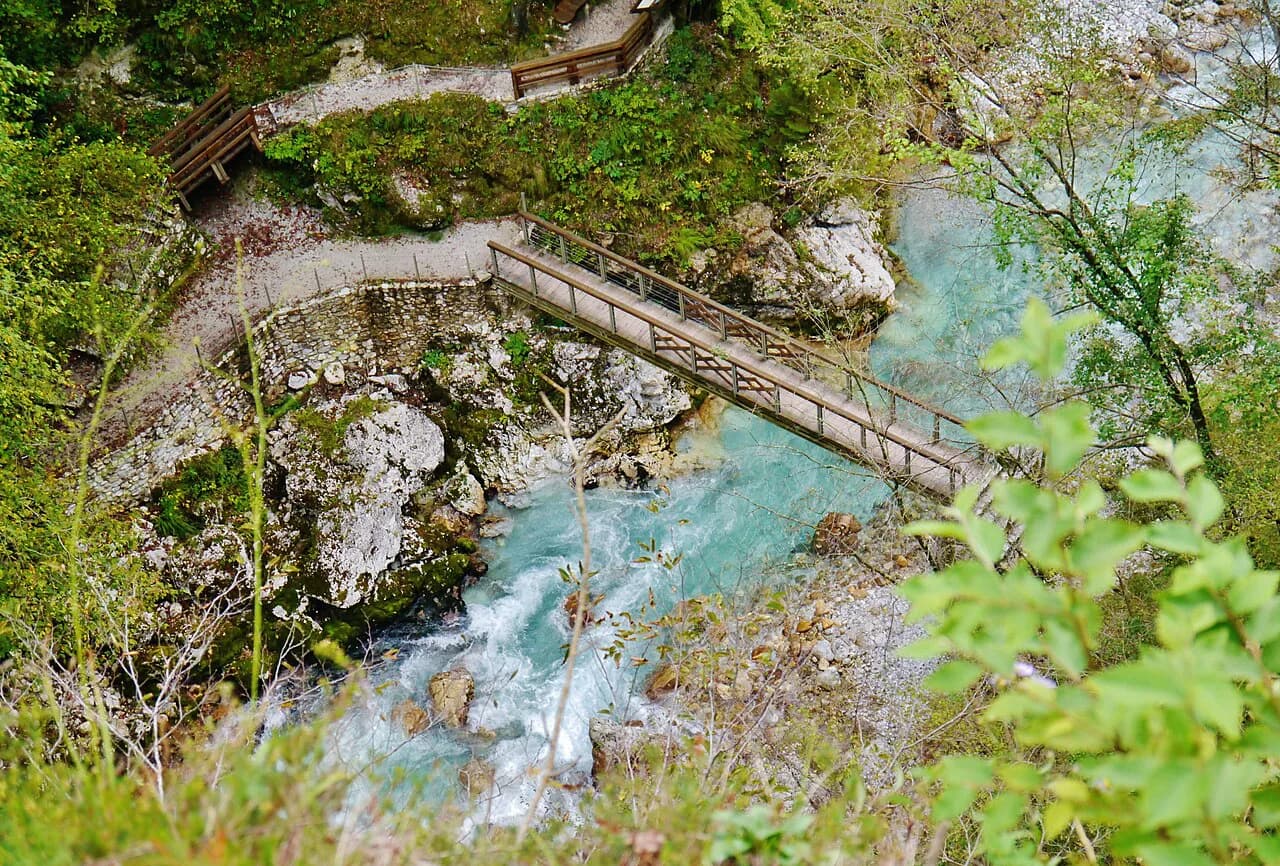
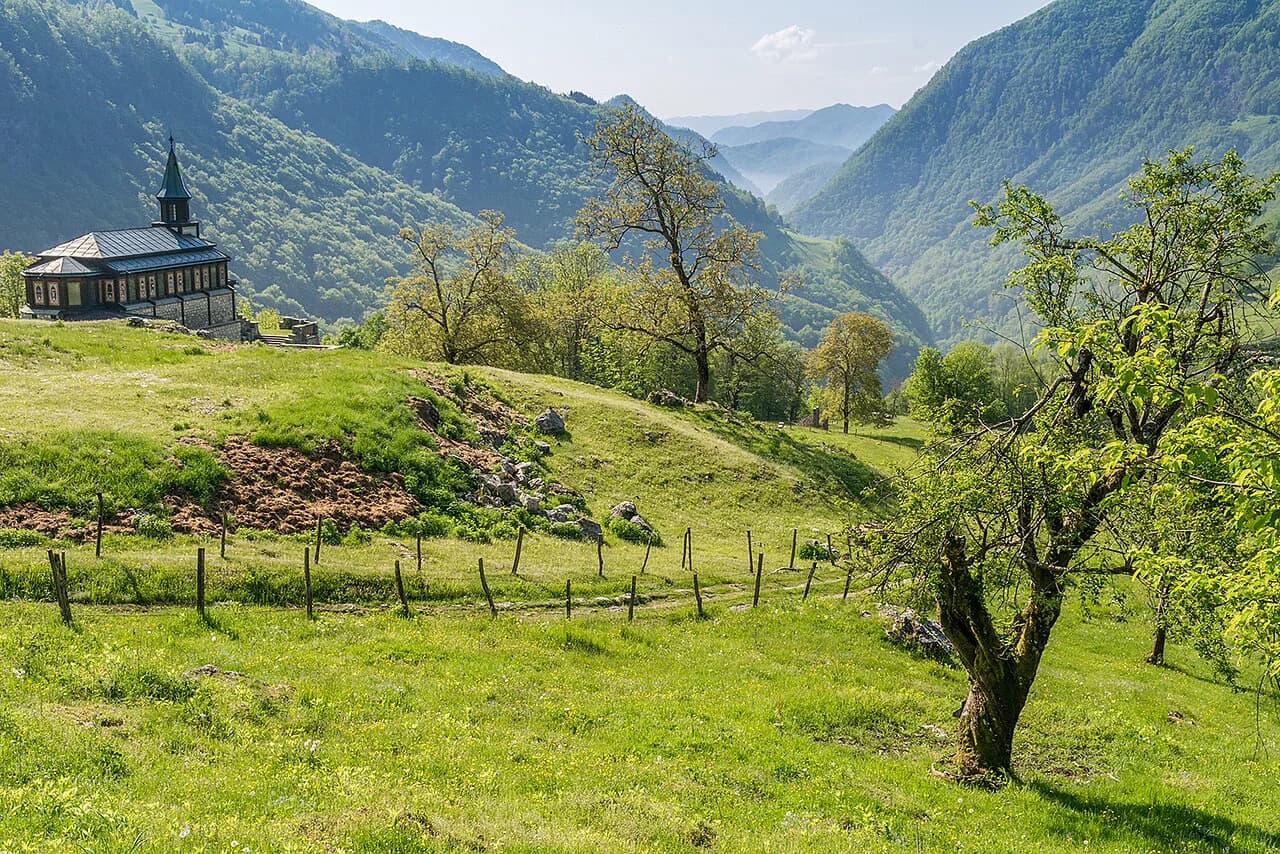
The wider valley adds sites that belong to the same war without being part of the battle itself. The Javorca church above the Tolminka, officially the Memorial Church of the Holy Spirit, sits in the hills south of Tolmin. The Tolmin Gorge, or Tolminska korita, cuts into the same limestone, and the Devil's Bridge crosses it on footpaths you would use to reach the gorge floor. Follow the Soča south toward Most na Soči and you pass the Doblar hydroelectric plant, with the village a natural lunch stop between Tolmin and the river's lower reaches.
Drive the ground in one long day rather than as separate outings, because the battlefield is a continuous ribbon along the river. Distances are short in kilometers but slow on the valley roads, so leave the passes and the side valleys for another day. The most useful stop is Kobarid, which sits at the center of the 1917 movement.
What to see in Kobarid on a Caporetto visit
The town rewards a slow walk rather than a checklist. Start at the center, where the roads the battle turned on still meet, and use the river bends and ridge names to place the accounts you have read. The museum and memorial sites are the obvious next step, and the local tourist information in town can confirm opening hours and any admission charges before you set out.
Beyond the battlefield, the same base gives you the Kozjak waterfall and the wider valley, so a Caporetto morning pairs naturally with an afternoon on the water or in the gorge. Keep the driving to one side of the valley at a time to avoid doubling back, and plan any river stop as its own outing rather than tacking it onto a battlefield loop.
Is the battlefield worth a day of your Soča valley trip?
Yes, if you treat the battle as a route rather than a single monument. The story only lands when you see the two breakthroughs, near Plezzo above Bovec and out of Tolmino at the southern end of the run, with the hub at Kobarid on the same map, so give the ground half a day and read one account the night before.
If your time in the valley is short, put Kobarid first: it holds the center of the 1917 movement and the clearest orientation. Add Tolmin and the ridge names on a second loop if the weather holds, and leave the mountain roads for a separate day.
Frequently Asked Questions
Who won the Battle of Caporetto?
The Austro-Hungarian and German forces won. The German-Austrian Fourteenth Army under Otto von Below broke the Italian Second Army on the opening morning of 24 October 1917 and advanced about 25 km by nightfall, with lead units reaching Udine by 28 October.
How long did the Battle of Caporetto last?
The offensive opened at 2am on 24 October 1917, and the breakthrough came on the first morning. Most of the following weeks were taken up with the Italian withdrawal, first to the Tagliamento and then to the Piave.
Why did Italy do so badly at Caporetto?
The Italian deployment was the problem. A large gap separated the Second and Third lines, the lines west of Tolmino were packed tightly together, and three divisions on Monte Nero and Monte Mrzili were flanked from the left after the breakthrough at Plezzo. Cadorna also overruled Capello's call to withdraw to the Tagliamento and held on for almost a week.
Sources
- Captured Italian Soldiers Are Escorted to the Rear by German Soldiers During the Battle of Caporetto, 1917 - Rare Historical Photos
- Battle of Caporetto
- Roads to the Great War: 24 October 1917 – Disaster at Caporetto: The Opening Battle
- Battle of Caporetto 1917 - FSM Ready Room - Finescale Modeler Forum
Notes for your Slovenia trip
Optional updates to our Slovenia place guides.
You might also like
Continue reading
More guides you'll find useful